Anúncios
Modern fish finder technology pairs sonar with optional GPS maps to show depth, bottom type, bait, and game targets. The idea is simple: spend less time pushing buttons and more time casting. Units can also warn you about hazards and shallow water, which keeps trips safer and more productive.
Choosing the right unit depends on the water, depth, and platform—boat, kayak, or ice rig. A transducer sends sound, the screen shows returns, and waypoints help you mark hot spots. Some anglers run one unit at the console and one at the bow, or network devices to share positions.
This guide will break down sonar types, GPS and maps, screens and interfaces, power and installation, plus practical workflows. By the end, you should match features to your budget and style instead of overbuying or picking the wrong transducer. Expect clear definitions and real-world tips to turn found targets into caught fish.
Why Modern Fish Finders Save Time and Help You Catch More Fish
Less is more on the water. Modern units strip away menu clutter so anglers spend the day casting, not tweaking settings.
Manufacturers build clearer views and faster access to the key information you need. That reduces setup friction and gets you into productive areas sooner.
Anúncios
From faster setup to smarter decisions
Quicker scanning and simpler screens mean faster decision-making. You can spot structure, confirm depth bands, and avoid unproductive casts. Repeatable approaches become routine when waypoints and clear returns are easy to record.
Efficiency and safety beyond locating targets
Mapping paired with sonar gives depth awareness that prevents running aground. That safety benefit matters on new lakes and narrow channels.
- Practical tip: Use a console unit while running and a bow unit when fishing from the trolling motor.
- If budget is tight, a swivel-mounted graph covers both positions without extra expense.
| Benefit | How it saves time | Real-world impact |
|---|---|---|
| Cleaner menus | Fewer taps to key info | More casts in prime spots |
| Split views | See map and returns together | Faster target confirmation |
| Dual placement | Scan while running, target while anchored | Better use of daylight |
Later sections will cover interface choices and screen readability—sun glare and wet hands change how useful any display is during long days on the water.
Anúncios
How a Fish Finder Works: Sonar Signals, Returns, and What Shows Up on Screen
A short sonar pulse starts a chain of events that turns unseen water features into clear on-screen targets.
The transducer “ping” and return
The transducer emits a quick pulse that travels through the water until it hits something. The return signal bounces back to the transducer and the unit converts that return into pixels on the screen.
Timing gives you depth, and the strength of the return hints at density. Hard bottoms return stronger echoes; soft bottoms show weaker light. Similarly, object size, position in the sonar cone, and speed all affect how a mark looks.
Reading marks, bait, and structure
Arches and blips often indicate individual fish, but a bigger mark isn’t always a bigger creature. Cone angle, sensitivity, and boat speed can exaggerate or shrink marks.
Bait schools show as scattered, dense clouds and usually matter more than a lone mark. When bait appears over structure—brush, rocks, ledges, humps, or vegetation edges—you’ve found a pattern to exploit.
“Better target separation on the screen lets you tell a single return from a cluster, so you can decide where to cast.”
Image quality and target separation determine how useful a unit is in practice. Clearer images help you spot fish tight to cover instead of reading everything as one blob.
- Basic flow: ping → travel through water → bounce off objects → return → display.
- What affects returns: object density, bottom composition, and position inside the beam.
- Next step: 2D/CHIRP, imaging, and live sonar all interpret the same returns with different beams and presentations.
Fish Finder Technology Breakdown: Sonar Types and When to Use Each
Not all sonar performs the same; each type has strengths for specific water and depth. Understanding those differences helps you buy only what you need and use it well on the water.
Standard 2D sonar uses a cone-shaped beam and is the reliable choice for deeper water (150+ feet). It gives straightforward depth readings and long-range returns when imaging frequencies weaken.
CHIRP sonar sends a range of frequencies to improve target separation and clarity. It boosts confidence on crowded returns and now appears on many mid-range units.
Down imaging creates near-photographic images directly below the boat. Use it to ID brush, rocks, and marks when fish sit tight to cover.
Side imaging scans wide swaths—commonly ~150–240 feet per side depending on setup—so you can catalog structure while moving and build a milk run of likely spots.
Live sonar delivers real-time updates so you can watch targets follow or reject your lure and adjust presentation on the spot.
360 imaging excels in shallow water (about 3–20 feet). It scans all around the boat while stationary, ideal for dissecting a single hotspot.
- When to use what: deep-water anglers rely on 2D/CHIRP; structure hunters lean on side + down; tournament or new-water anglers benefit from live/360.
- Workflow tip: run side imaging to find structure, then switch to live or 360 to inspect and present precisely.
- Buying guidance: if you fish small, known lakes from shore, you may skip live/360; if you run new water often, consider units that include them or add modules via best fish finder reviews.
GPS and Mapping Features That Help You Find Fish Faster on New Water
A reliable GPS map turns an unfamiliar body of water into a clear plan for the day. Modern chartplotter combos pair location tracking with sonar to reduce searching and increase productive time.
Chartplotter combos: tracking routes, hazards, and fishing spots
Combo units let you record routes, mark hazards, and save exact spots to return to later. That means safer runs and less guesswork when exploring a new lake from your boat.
Waypoints and pattern fishing: repeating productive structure efficiently
Mark a single bite and you can build a route. Save waypoints on points, flats, or channels. Then run similar structure until you confirm a pattern.
“Save the exact location; repeatable spots turn one good bite into a full day of action.”
Preloaded lake maps vs add-on mapping chips and local enhancements
Preloaded maps give instant coverage. Add-on chips or local map products add detail—hidden boat lanes, submerged hazards, and guide-built notes that matter on stump-filled reservoirs.
- Why GPS matters: shortens the learning curve and supports safer navigation on unfamiliar water.
- New-lake workflow: idle and scan, mark structure, save waypoints, then run a route staying in the target depth and bottom type zones.
- Scalability: start with a basic gps system and upgrade maps or the model later to avoid replacing the whole unit.
Choosing the Right Interface and Display: Touchscreen vs Buttons, Screen Size, and Visibility
How you interact with the unit can speed decisions or slow a productive morning. Pick an interface that matches the conditions you fish in and the way you like to work on the water.
Touch vs physical controls
Touchscreens are fast for changing views and dropping waypoints. They shine on calm, warm days when you need quick access.
Physical buttons and dials win when hands are cold, wet, or gloved for ice fishing. They stay usable in spray, rain, and rough runs.
Size and resolution
Common displays run from about 3.5 to 16 inches. An 8–9 inch size is a good starting point for many anglers.
As screen size grows, resolution must keep up or images lose clarity. A large display with low pixel density makes marks and structure harder to read.
Split views, multi-display layouts, and visibility
Split-screen lets you run mapping plus sonar or side imaging plus down imaging at once. Multi-display setups on bigger boats reduce menu switching and speed decisions.
Combat glare with visors, anti-reflective coatings, mount adjustments, and stronger backlighting for dawn or dusk. If you won’t use multi-box views, a smaller, high-quality screen often beats a larger, cluttered one.
| Feature | Best for | Practical tip |
|---|---|---|
| Touch control | Quick waypointing, calm days | Choose if you value speed and intuitive menus |
| Button control | Cold, wet, ice fishing | Pick if you wear gloves or work in spray |
| Mid-size display (8–9″) | Beginners, split view needs | Balanced cost, readability, and power draw |
| Large display (12–16″) | Multi-tasking, tournament boats | Require higher resolution and stronger backlight |
Power, Frequency, and Performance: Getting Clean Sonar Images at Any Depth
A clean, steady power feed is the unsung hero behind crisp sonar images at any depth. Deep water and saltwater demand more power from your unit to push signals farther and return usable echoes.
Why more power matters: Higher output improves target separation and return strength in deep or salty water. That means clearer marks and better interpretation on the screen.

Voltage, wiring, and noisy returns
Low voltage makes returns weak and noisy. A unit that loses voltage under load will show inconsistent marks and reduce image quality.
Common interference sources include shared circuits, poor grounds, undersized wiring, and tangled rigging. These introduce electrical noise that masks real returns.
Practical wiring and battery guidance
- Use heavy-gauge wire for long runs to prevent voltage drop and preserve signal strength.
- Keep connections clean and tight; bad grounds create noise faster than faulty hardware.
- Consider a dedicated battery or harness for high-draw units to protect starting power on boats with multiple systems.
- Sometimes a midrange unit, properly powered, outperforms a premium unit on weak voltage.
Frequency note: Higher frequencies give finer detail at shallow depth, while lower frequencies penetrate deeper water better. Match the unit and settings to the conditions for the best results.
“Rigging and power management often matter more than raw specs when chasing consistent sonar quality.”
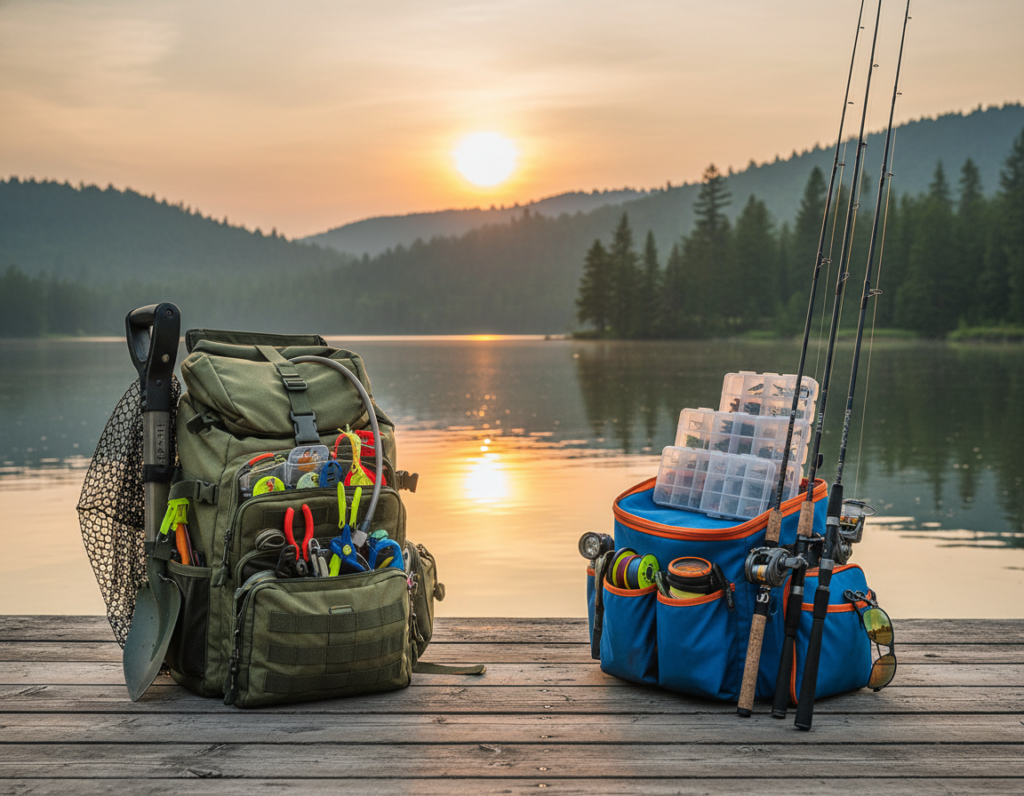
Match Your Fish Finder to Your Fishing Style: Boat, Kayak, Ice Fishing, and Shore
Different platforms demand different layouts, mounts, and screen priorities. Choose a setup that matches your routine and cuts setup time on the water.
Big boats and tournament rigs
Networked systems let pros share waypoints and run specialized views. Console screens can show side imaging while a bow screen runs forward or live sonar.
Some guides run multiple screens to speed decision-making. For most anglers, a well-placed dual-screen setup gives the same benefits without extra complexity.
Kayak setups
Weight, footprint, and rugged mounts matter most. Choose compact units with glare-resistant screens and low profiles to fit tight decks.
Look for simple mounts and waterproof connectors to keep the unit secure in rough conditions. See kayak-compatible models for compact options here.
Ice and cold-water rigs
Ice anglers often pick between a vertical flasher and a full-screen sonar view. Flashers give instant vertical feedback; full screens add mapping and logs.
360-style scanning through ice helps narrow search areas before switching to a flasher or sonar to nail the hole.
Shore and portable options
Castable sonar paired to a smartphone is a true portable option for bank anglers. Cast, read, and build quick contours with GPS-based casting patterns.
Decision lens: buy the unit that suits your primary platform. Only prioritize portability if you truly switch between setups often.
| Platform | Key need | Recommended approach |
|---|---|---|
| Big boat / tournament | Networking, multiple screens | Networked console + bow; dedicated power and map chips |
| Kayak | Compact, rugged mount | Small low-profile unit, high-contrast screen, secure mount |
| Ice fishing | Vertical read vs mapping | Flasher for vertical action; 360 to find spots, then switch modes |
| Bank / portable | Castable and phone integration | Castable sonar, heavier line, phone app with contour tools |
“Buy for the platform you use most; the right setup saves time and keeps you fishing.”
Budget Planning: What You Actually Need vs Nice-to-Have Features
Start your buying plan by separating must-haves from nice-to-haves to avoid overspending on features you rarely use.
Establish three realistic budget tiers before you shop. Entry-level units give essential depth and returns. Midrange combos add mapping and larger screens. Premium systems include live/360 and networked options.
Hidden costs and total cost of ownership
Sticker price is only the start. Add mounts, extra transducers, covers, locks, and wiring. Specialty transducer mounts (a zero-degree mount for forward-facing sonar can run ~$200) and dedicated batteries raise the total price quickly.
Think about power needs. Bigger screens and more units demand more power and may require a separate battery and heavier gauge wiring.
| Tier | What it delivers | Likely hidden costs |
|---|---|---|
| Entry | Depth/read returns, small screen | Basic mount, simple transducer, cover |
| Midrange | Mapping combo, mid-size screen | Mapping chip, better mount, SD card, wiring |
| Premium | Live/360, networked screens | Extra transducers, black boxes, dedicated power, security locks |
Practical checklist and buying mindset
- Check mounting hardware, transducer shields for stump-filled lakes, and SD/mapping chips before you buy.
- Plan power: if multiple units or a large screen are in your model, budget for a dedicated battery and proper wiring.
- Favor upgradeable systems so you can add modules later rather than replace a whole unit.
“Fewer, well-used modes beat a complex system you never learn.”
Prioritize reliability, readability, and core sonar/mapping over niche add-ons. That approach saves time on the water and delivers better outcomes than buying every feature at once.
Installation and Rigging Essentials: Transducer Placement, Mounting, and Networking
Proper rigging turns a capable unit into a dependable, repeatable system on any lake.
Alignment and mounting depth for accurate readings at speed
Many complaints about poor returns trace back to installation, not the unit. Mount the transducer level and deep enough to stay in clean water when the boat planes. Angle or turbulence will break bottom lock and create noisy marks.
Common mounting locations and tradeoffs
Transom mounts are simple and serviceable. Trolling motor mounts give forward-facing views but can add turbulence. In-hull installs are sleek for fiberglass hulls but depend on hull thickness and material.
Console vs bow and networking basics
Run a console screen for running and scanning, and a bow screen for precision targeting. Network the units so waypoints and marks sync instantly. That saves time and avoids duplicated work between positions.
Durability and safety
Shields and protectors are worth the cost in stump-filled reservoirs or shallow rivers. A guard prevents costly mid-season losses.
Safety note: Mount displays and stacks so they do not block sightlines while running.
| Mount Type | Pros | Cons |
|---|---|---|
| Transom | Easy install, serviceable | May cavitate at speed |
| Trolling motor | Forward view, great for bow fishing | Wires run to bow, can snag |
| In-hull | Clean look, protected | Dependent on hull material, fixed angle |
“Install well—most ‘bad sonar’ problems disappear after correcting alignment and power.”
Using Your Fish Finder More Efficiently on the Water
A simple, repeatable on-water routine turns broad scanning into reliable bites. Start by covering ground fast, then narrow the view and present precisely. This saves time and increases the odds of productive casts.
Scanning workflow
Step 1 — Search: Run side imaging to sweep large swaths of water. Mark edges, bait concentrations, and isolated structure with waypoints as you go.
Step 2 — Confirm: Switch to down imaging or 2D to verify what sits directly under the boat. Check how targets relate to bottom type and cover before committing.
Step 3 — Target: Use live sonar or 360 imaging to watch movement and position in real time. Adjust lure depth, angle, and retrieve speed based on what you see.
Dialing in views and settings
Split-screen helps during search and navigation by showing mapping plus a sonar view. When marks are subtle or you need precision, go full-screen on the Live or Zoom view to avoid distraction.
Use zoom to inspect deep marks, and flasher mode for vertical presentations like jigging through ice or over tight targets. Let mapping be primary while routing or holding a pattern.
Settings sanity: Keep sensitivity and range readable. Avoid constant tweaks—save presets for common water types so you stop menu-diving during peak feeding windows.
| Stage | Primary view | Quick tip |
|---|---|---|
| Search | Side imaging + map | Cover water fast; drop waypoints on structure |
| Confirm | Down imaging / 2D | Verify depth, bottom, and target relation |
| Target | Live sonar / 360 | Watch movement; adjust presentation in real time |
| Precision | Zoom / flasher | Use for deep marks or vertical jigging |
“Search wide, confirm carefully, then go hard on the target—repeatable workflows save time and increase success.”
Conclusion
Prioritize fit over flash: pick a unit that matches your water, depth, and how you fish, then install it properly so it performs from day one.
Start with reliable sonar and a readable screen. Add mapping when you run new lakes. Consider side imaging, live, or 360 only if you need faster search or real-time targeting.
Account for bright sun, shallow hazards, stump-filled reservoirs, and cold-weather use in the U.S. These constraints change which features matter most.
Budget smart: plan for accessories—mounts, wiring, and a dedicated power source—so the option you choose gives consistent quality on the water.
If you want simplicity, favor 2D/CHIRP plus basic mapping. For maximum efficiency, prioritize side imaging and a workflow-friendly interface. Competitors should add networking and live modes.
Action step: make a short must-have list, compare units by interface, screen, and sonar type, and invest in good installation to protect performance.